
For bFiskur® to carry out information downloads from the SAT for your company, it is essential to complete the corresponding registration. This process is simple and takes only a few minutes; this document provides a detailed guide to add a company.
Prerequisites
Before starting the registration, make sure you have the following items:
- Valid electronic signature and password.
- Password for the electronic mailbox (SIEC).
- Email of the person who will receive notifications from bFiskur®.
Step-by-step instructions to add a company
Follow the steps described below to complete the registration of your company:
- Step 1: Access "My RFCs" and select the option to add a new company.
- Step 2: Upload the company's FIEL.
- Step 3: Configure the corresponding download parameters.
- Step 4: Save and activate the company.
Step 1: Access "My RFCs" and register a new company
Access the main menu and select “My RFCs” to view the RFCs associated with your user.
In the upper right corner of the module, click on the “+” symbol to start the process of registering a new RFC.

Step 2: Upload Company FIEL
Enter the corresponding FIEL for the company (it is essential to use the FIEL and not the digital stamps).

Step 3: Download Parameter Configuration
Configure the basic parameters necessary for the company:
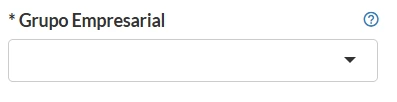
- In Business Group, the name of the contracting entity will appear, previously registered on the platform.
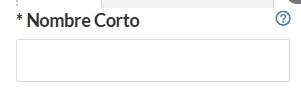
- In Short Name, enter a unique brief designation for the company; this identification will be used in reports and cannot be modified later.
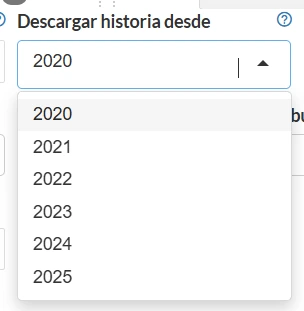
- Download history from
- Specify the start date from which you want to download history, considering your contracted plan to avoid additional charges. This parameter can be modified later.
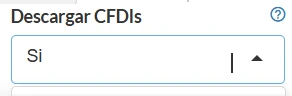
- Download CFDIs
- Select “Yes” to download CFDIs, or “No” if you only want to obtain statements.
- Download Notifications
- Suggested value: Only headers.
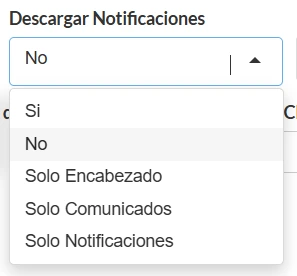
- Decide whether to download notifications and communications from the SAT. Keep in mind that when downloaded in bFiskur®︎, the SAT registers them as read, beginning the corresponding legal period. “Only Headers” is recommended to receive notices of new content without activating the read status with the SAT.
- If you prefer that bFiskur®︎ does not download notifications, set this option to “No.”
- Tax Mailbox Password
- Enter the password for the tax mailbox.

- This section also allows you to download the DIOT and verify compliance in the Obligations Scorecard. Indicate if the system should generate a monthly scorecard for the registered company.
- Download Withholding CFDIs
- Activate the corresponding option if you want to manage vaults of issued and received withholding CFDIs; deactivate it if this type of CFDI does not apply.

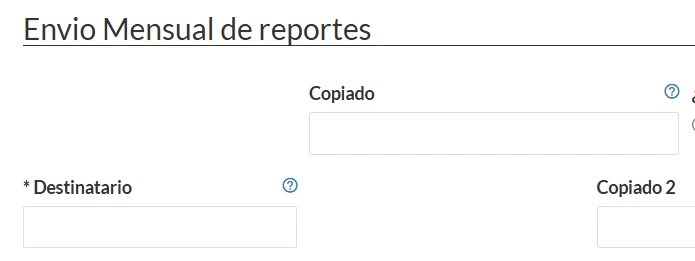
- Monthly report submission
- Enter up to three email addresses for receiving notices and notifications; all configured emails will receive the same information.
- Where do you file your monthly declarations starting in 2024?
- Suggested optimal value: Both Portals.

- For companies that only file on the new SAT portal, select "Only new portal." If you also file declarations on the previous portal, choose "Both Portals," recommended to cover both declaration scenarios.
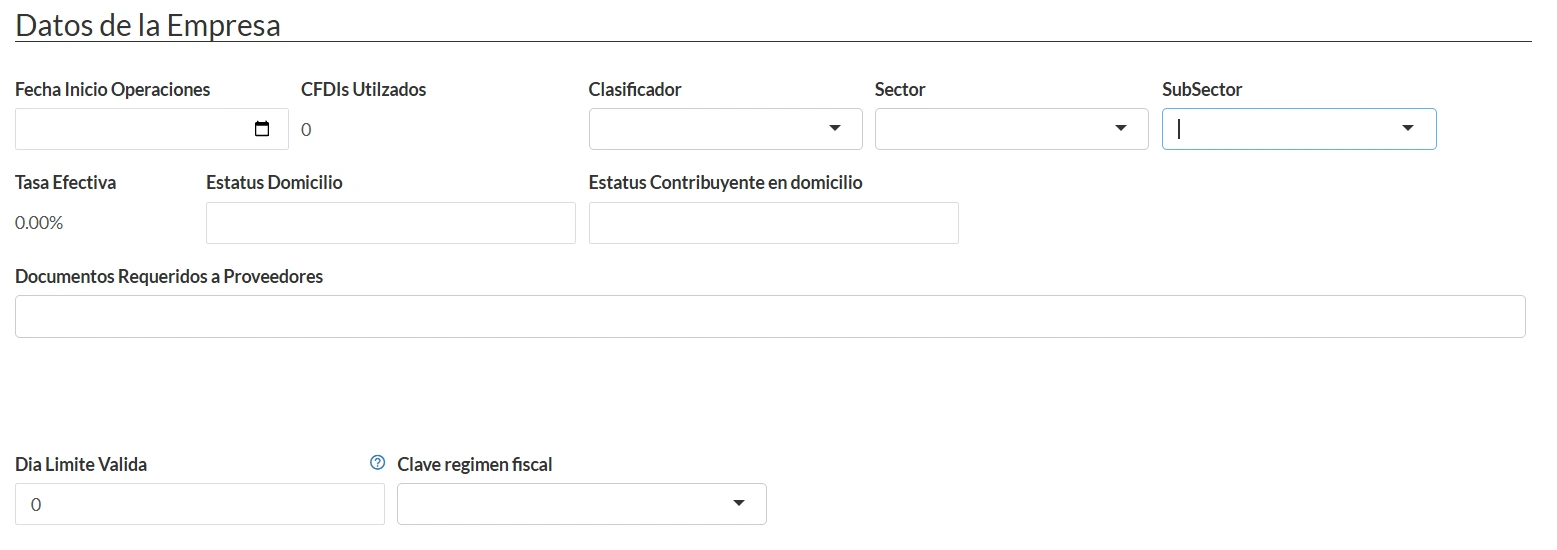
- The "Company Details" section will be automatically completed using the tax status certificate, although you can manually add the start date of operations, sector and subsector if you consider it relevant.
Optional
- State taxes:

- Indicate if the company files state taxes and complete the "State Registration" box if applicable.
- IMSS connection data:
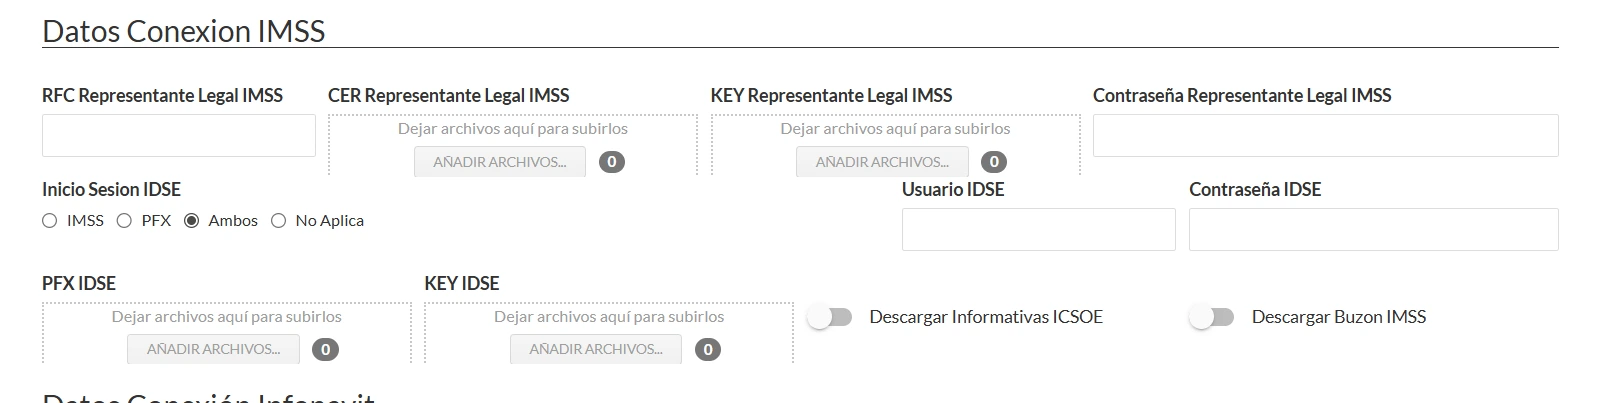
- Allows automatic download of IMSS compliance, ICSOE reports, and access to the IMSS tax mailbox. There are three access options:
- 1.IMSS: Register RFC, FIEL certificate (.CER), private key (.KEY), and password of the legal representative.
- 2.PFX: Register IDSE PFX certificate and private key.
- 3.Both (recommended): Include all the above information for greater coverage.
- Disable the ICSOE download option if you do not require this information. Do the same for the IMSS Mailbox as needed. For additional details, consult the specific module guide.
- INFONAVIT connection data:

- Allows you to download compliance opinions by entering the employer registration number, email, and INFONAVIT password. If you enable the corresponding option, you will also be able to obtain SISUB information.
Step 4: Saving and activating the company
Once the previous fields are completed, save the information to activate the company. The system will validate the data and proceed to immediate activation.

In case of errors, verify that you are using the FIEL and that the proposed short name is not already registered.
Confirm the activation by checking the "Company Data" section; if the name appears listed, the company has been successfully activated and the system will automatically start downloading information.
